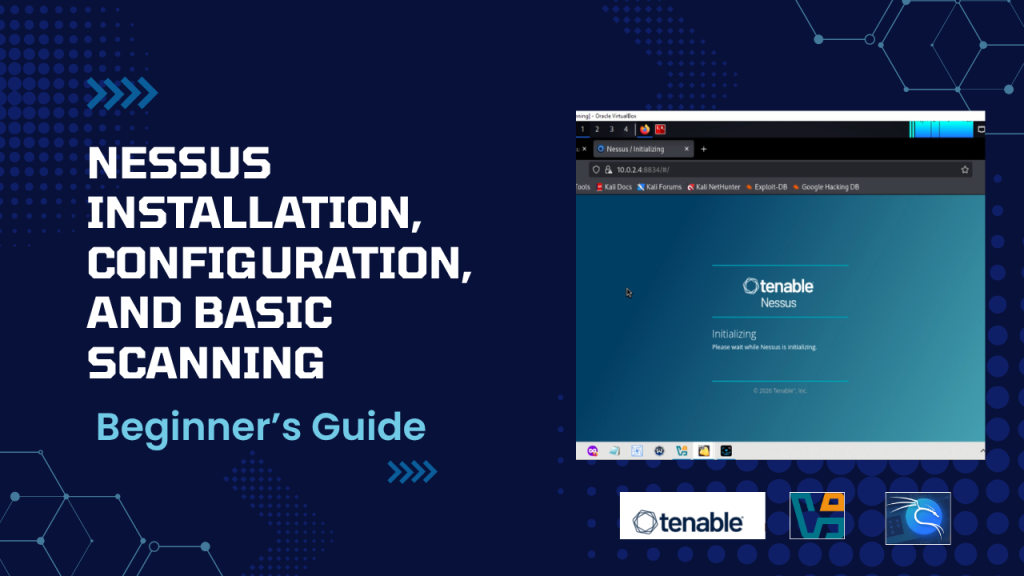
How to Install and Use Nessus (Step-by-Step Beginner Guide) Leave a Comment / Advanced, Digital Sovereignty Introduction If you’re getting into cybersecurity, learning how to scan for vulnerabilities isn’t optional—it’s essential.One of the most widely used tools for this is Nessus. It’s powerful, reliable, and surprisingly approachable, even if you’re just starting out.In this guide, I’ll walk you through:Installing NessusSetting it up the right wayRunning your first scanLet’s get into it. What is Nessus? Nessus is a vulnerability scanner developed by Tenable. In simple terms, it checks systems for security issues like:Open portsMisconfigurationsMissing updatesKnown vulnerabilitiesThink of it as a diagnostic tool—it tells you what’s wrong before someone else finds it.Step 1: Installing NessusDownload NessusHead over to Tenable’s website and download Nessus Essentials. It’s free and perfect for beginners (limited to 16 IP addresses).Choose the version that matches your system:Kali Linux / UbuntuWindowsmacOS Install on Linux (Kali / Ubuntu) Run: sudo dpkg -i Nessus-*.deb If there are dependency issues: sudo apt-get install -f Start the Service sudo systemctl start nessusd Enable it at startup: sudo systemctl enable nessusd Access the Web Interface Open your browser and go to: https://localhost:8834 You’ll see a security warning because of the self-signed certificate—this is normal. Go ahead and proceed. Step 2: Initial Setup Choose the VersionSelect Nessus Essentials.Enter Activation CodeRegister on the Tenable website and get your free activation code. Paste it into the setup.Create Login CredentialsSet your username and password—this is what you’ll use to access the dashboard.Let Plugins InstallNessus will now download and compile its plugins. This can take a bit of time, but it’s important—these plugins are what power the scans.Just let it finish. Step 3: Getting Familiar with the Dashboard Once everything’s ready, you’ll land on the main dashboard.You’ll mainly use:My Scans → where your scans livePolicies → scan configurationsSettings → tool preferencesFor now, keep it simple. Start with a Basic Network Scan. Step 4: Running Your First Scan Create a ScanClick:New Scan → Basic Network ScanSet It UpFill in:Name: First ScanTargets:Your machine → 127.0.0.1Or another device → 192.168.1.xLaunchClick:Save → LaunchWait for ResultsScan time depends on what you’re scanning and how deep the scan goes. Usually, it takes anywhere from 5 to 20 minutes. Step 5: Understanding the Results Once the scan is done, Nessus organizes findings by severity:🔴 Critical🟠 High🟡 Medium🔵 Low⚪ InformationalWhat You’ll SeeTypical results include:Open ports (like 22, 80, 443)Weak configurationsMissing patchesDefault credentialsWhere to FocusDon’t try to fix everything at once.Start with:CriticalHighThat’s where the real risk is. Step 6: Best Practices (Don’t Skip This) This is where most beginners go wrong.Do:Scan only systems you own or have permission to testKeep plugins updatedStart small and build upDon’t:Scan random public IPsRun aggressive scans on live production systemsIgnore serious vulnerabilities Step 7: What Comes Next? Running a scan is just the first step.For each issue:Read the descriptionCheck the recommended fixApply itThat’s how you actually improve security.Where This Helps in Real LifeYou can use Nessus for:Home lab testingLearning cybersecurity hands-onInternal network checksEarly-stage bug bounty practiceFinal ThoughtsNessus is one of the easiest ways to step into real-world cybersecurity.You don’t need to overthink it:Install itRun scansLearn from what you findThat’s exactly how most people get started. LATEST PROTOCOL GUIDES Practical Guides. Real Results DIGITAL The Complete Digital Sovereignty Guide (2026): Privacy, Security, Self-Hosting, and AI Read Guide → DIGITAL How to Change MAC Address in Kali Linux (Complete Step-by-Step Guide) Read Guide → DIGITAL Self-Host Nextcloud on Ubuntu (2026): Private Cloud Step-by-Step Read Guide → MIND Embracing Stoicism: An In-depth Guide to Living a Life of Virtue and Resilience Read Guide → VIEW ALL GUIDES Start Your Protocol Small, deliberate steps create massive transformation over time. START WITH DIGITAL CHOOSE YOUR PATH JOIN THE BROTHERHOOD