

Introduction
If you want to learn cybersecurity seriously, you eventually run into the same realization: reading isn’t enough. You need a place to break things, test attacks, analyze traffic, and rebuild systems without risking your real network.
That’s where a home cybersecurity lab becomes invaluable.
The good news is that building one doesn’t require racks of expensive enterprise gear. With a few smart hardware choices, you can create a practical lab that lets you experiment with penetration testing, network monitoring, and system defence right from your desk.
In this guide, we’ll look at reliable, budget-friendly hardware for a cybersecurity home lab in 2026 — the kind of setup beginners and intermediate learners can realistically afford.
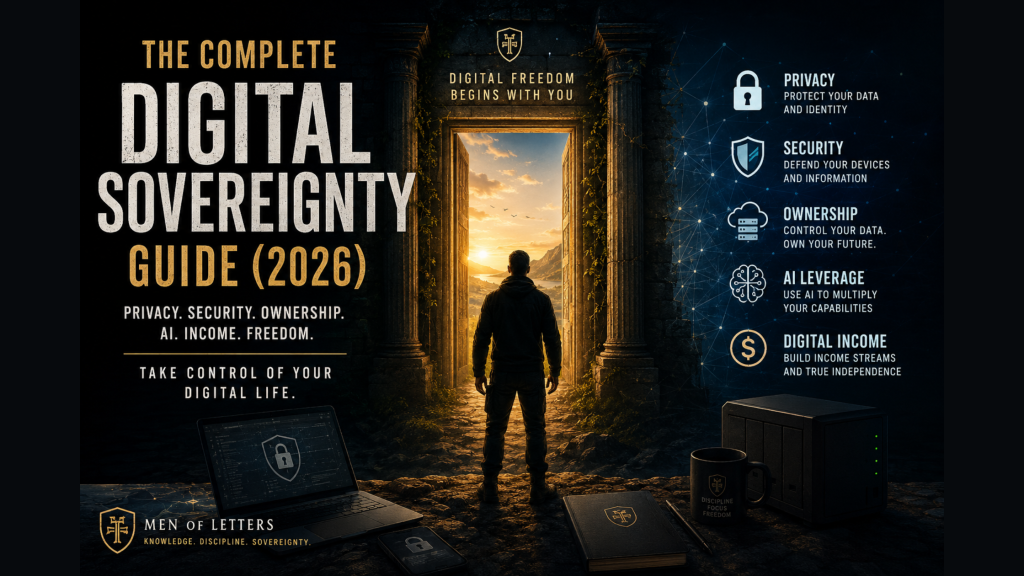
MEN OF LETTERS
Get the Modern Sovereignty
Framework PDF and join a
community committed to
digital freedom and self-reliance.
Begin Your Sovereignty Protocol
Most people use technology they do not understand.Digital Sovereignty is more than cybersecurity. It is the ability to understand the systems that shape your digital life and consciously take control of them.
- Digital Sovereignty Fundamentals
- Privacy & Security Principles
- AI & Modern Systems
- The Four Pillars of Sovereignty
Start your journey with the free PDF.
1. A Mini PC or Used Desktop (Your Lab’s Workhorse)
The core of any cybersecurity lab is a machine capable of running multiple virtual machines simultaneously.
You’ll likely want to run environments such as:
- Kali Linux
- vulnerable web servers
- Windows testing environments
- intentionally insecure machines like Metasploitable
All of these typically run inside virtualization software.
For most learners, a mini PC or refurbished business desktop works perfectly. Older office machines such as Dell OptiPlex or HP EliteDesk models are widely available and surprisingly capable for lab use.
Ideal specs for a budget lab
- CPU: Intel i5 / Ryzen 5 or better
- RAM: 16GB minimum (32GB if possible)
- Storage: SSD with at least 500GB
- Virtualization support: Intel VT-x or AMD-V
The extra RAM is especially important. Virtual machines consume memory quickly, and running several at once is common in cybersecurity practice.
If you’re new to this process, you might want to read our guide on how to build a cybersecurity home lab step-by-step, which explains the virtualization setup in detail.
2. A Managed Network Switch (For Realistic Networking)
A managed switch may seem unnecessary at first, but it becomes extremely useful once you start experimenting with network segmentation and monitoring.
Unlike basic switches, managed switches allow you to configure VLANs (Virtual Local Area Networks). These let you simulate separate networks within your lab.
For example, you might create:
- an attacker network
- a target network
- a monitoring network
This mirrors the way real corporate networks are structured.
Features worth having
Look for a switch that supports:
- VLAN configuration
- port mirroring
- simple web-based management
- QoS controls
Even an 8-port smart switch is enough for most home lab setups.
Port mirroring is particularly useful when you want to capture traffic using packet analysis tools like Wireshark or Zeek.
3. A Dedicated Router or Firewall Device
One of the most important lessons in cybersecurity is understanding how networks defend themselves, not just how they are attacked.
Running a dedicated router or firewall in your lab allows you to explore:
- firewall rule creation
- traffic inspection
- VPN configuration
- intrusion detection systems
Many cybersecurity learners install firewall operating systems such as:
- pfSense
- OPNsense
- OpenWRT
These can run on a small firewall appliance or even on another mini PC.
Once configured, this device becomes the gateway for your entire lab network, giving you a controlled environment to experiment with security policies and monitoring.
4. Raspberry Pi (Small Device, Big Possibilities)
A Raspberry Pi is one of those devices that quietly becomes useful in dozens of security projects.
Because it’s small, inexpensive, and energy-efficient, it’s ideal for running lightweight services that stay online continuously.
Common cybersecurity lab uses include:
- network monitoring sensors
- Pi-hole DNS filtering
- lightweight honeypots
- packet capture systems
- small self-hosted services
For many learners, the Raspberry Pi becomes a permanent tool in the lab, quietly collecting network data or running defensive tools in the background.
5. External SSD (For Snapshots and Lab Backups)
Cybersecurity labs involve a lot of experimentation — and sometimes things break badly.
That’s why virtual machine snapshots and backups are essential.
A fast external SSD allows you to store:
- VM snapshots
- malware samples
- lab backups
- large disk images
SSDs load virtual machines significantly faster than traditional hard drives, which makes the lab far more responsive.
When you’re constantly resetting environments during penetration testing practice, that speed becomes very noticeable.
Example Budget Cybersecurity Lab Setup (Under $500)
A realistic beginner lab might look something like this:
| Hardware | Purpose |
|---|---|
| Mini PC or used desktop | Run virtualization and lab environments |
| Managed switch | Create segmented networks |
| Firewall device | Practice network security controls |
| Raspberry Pi | Monitoring tools and experiments |
| External SSD | Store virtual machines and backups |
With virtualization software such as VirtualBox, VMware, or Proxmox, even this modest setup can simulate entire enterprise networks.
Hardware Matters Less Than Practice
One mistake many beginners make is assuming cybersecurity labs require expensive equipment.
They don’t.
What really matters is consistent experimentation.
Even a single computer running several virtual machines can teach you an enormous amount about:
- penetration testing
- vulnerability scanning
- malware behavior
- network defense
Your lab will naturally grow over time as your curiosity expands.
Final Thoughts
A home cybersecurity lab is one of the most practical investments you can make if you want to develop real security skills.
It gives you a safe environment to explore attacks, analyze traffic, and understand how systems defend themselves.
And the best part is that getting started doesn’t require a massive budget. A few carefully chosen devices — combined with virtualization software — are more than enough to create a capable learning environment.
Start small, experiment often, and gradually expand your lab as your skills develop.
LATEST PROTOCOL GUIDES
Practical Guides. Real Results
DIGITAL


Start Your Protocol
Small, deliberate steps create massive transformation over time.